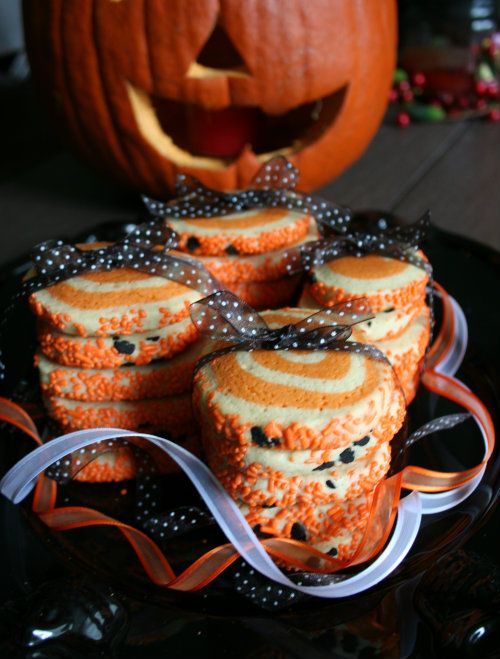
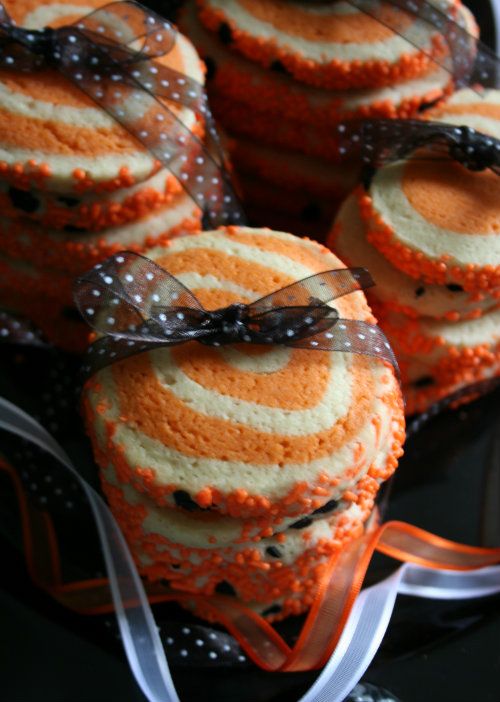
Pinwheel Halloween Sugar Cookies
Pinterest....oh how I love thee. I remember the days when my children were babies and during late night colic sessions, I would watch nothing but infomercials over and over and over again. After seeing spray on hair for balding men for the 555,000 mind numbing time, I would begin to count ceiling tiles or try to find faces in the wood patterns on my furniture. For you Moms (and Dads) just starting out consider yourself VERY lucky with smart phone technology and Pinterest! Feel blessed that you have these things to entertain and educate you while having late night party time with your little one. Those days have LONG passed for me, however my body hasn't realized it yet and as I approach the second half of my life, I've had the pleasure (insert heavy doses of sarcasm) of developing the curse of middle of the night insomnia. I can not begin to tell you how thankful I am for my iPhone and the Pinterest app! I have learned to do so much from that site! I have learned how to clean shower doors with dryer sheets, how to iron a stain out of my carpet, how to get rid of fruit flies, how to make about a trillion DIY things (including but not limited to cake pedestals from Dollar Tree candle sticks and plates), and how to entertain my children by making slime. The list goes on and on and on and on.... but the one thing I am REALLY grateful for is this sugar cookie recipe that I found on there! It is quite possibly the best sugar cookie recipe that I have EVER tasted. If you aren't into soft, fluffy, melt in your mouth sugar cookies, then this recipe is not for you. It was easy to mix up, easy to work with and I probably didn't even need to refrigerate it prior to baking it! Bonus points! When it comes to cookie making, who wants to have to wait hours and hours prior to baking them? Not this girl over here! They would be great to use as any holiday "pinwheel type cookie", cookies on a stick, decorated cookies, drop cookies (rolled in more sugar of course!), and even cut out sugar cookies! What a great treat these would be for your upcoming holiday party! I can't wait to see what you've done with your own variation of this recipe! Follow me on Instagram (@playwithsugar) or Twitter (@playwithsugar) and don't forget to tag me so I can see your work too! Happy Halloween!
 Pinwheel Halloween Sugar Cookies
(thick, soft, easy sugar cookies)
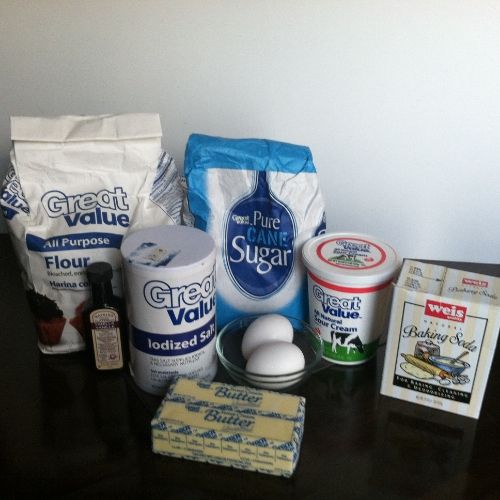
Ingredients:
1 Cup of unsalted butter
2 Cups of sugar
2 Eggs
3 teaspoons vanilla (I used J.R. Watkins Double Strength Vanilla. If you haven't tried this you really should!)
1 Cup Sour Cream
1 teaspoon salt
2 teaspoons baking soda
5 1/2 Cups Flour
Instructions:
In mixer, cream together butter and sugar. Add sugar and vanilla. Next add sour cream. Combine salt, baking soda and flour and add to the mixture.
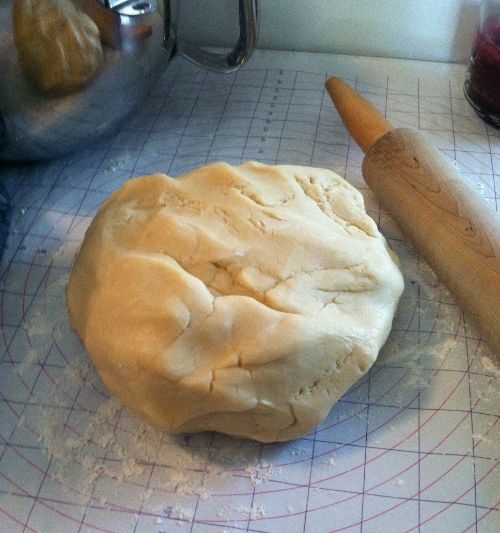
After dough is thoroughly mixed, divide dough in half.
Keep half of the original color and set aside. Place the other half back into the mixer and add orange food coloring (amount to your liking). I used Wilton Icing Color in Orange. Mix on medium speed until all of the coloring has been incorporated throughout.
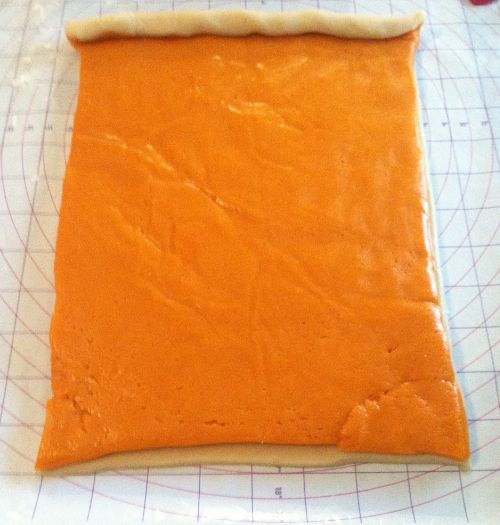
Roll out original dough (the one not colored) on a floured surface. I was very precise and cut and measured an exact rectangle (or square if you're fancier than I am at rolling!). I saved any scraps for cookies that I will tell you about a little later. Next, I did the exact same thing using the orange dyed dough. The only difference is I rolled this out on floured pieces of waxed paper (this made it MUCH easier to transfer on top of the original dough).
Once I had both pieces pretty much the same size, I flipped the orange dough on top of the original (basically stacking the orange on top of the white).
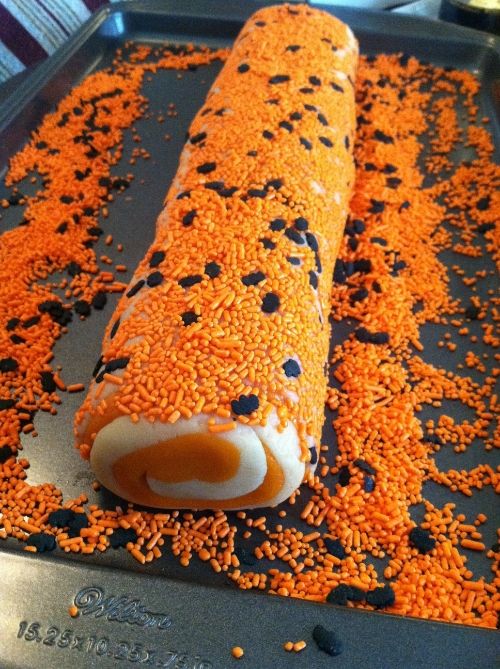
Begin rolling the dough tightly until it is all rolled up and in the shape of a log.
Lightly brush with water and roll into sprinkles of your choice. (I found it best to dump out all of my sprinkles onto a cookie sheet and then roll my cookie dough on it in order to try to contain the mess. Gently apply pressure while rolling to make them stick.)
I covered the decorated roll with saran wrap and then placed it in the refrigerator overnight. (You really only need it in the refrigerator for an hour to an hour and a half, but I was short on time so I baked mine the next day.)
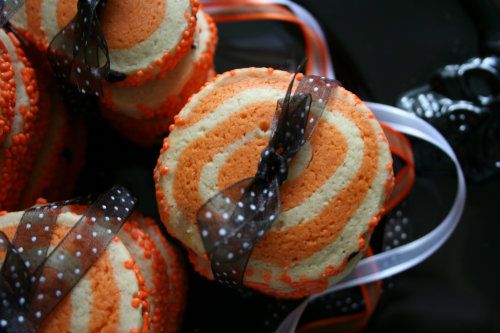
Prior to baking, remove roll from refrigerator and slice into 1/4 inch slices and place on a parchment lined cookie sheet.
Bake in a 375 degree preheated oven for 7-8 min. Cookies WILL looked under baked, but this DOES NOT mean that they aren't done. RESIST THE URGE TO BAKE LONGER! I made the mistake (on my first batch) of thinking they needed to stay in longer and they got a little too brown on the bottom for my liking. They WILL be pale in color and no browning anywhere. (Remember these are super soft, thick cookies and leaving them in longer will not allow you to achieve that result.)
VARIATIONS:
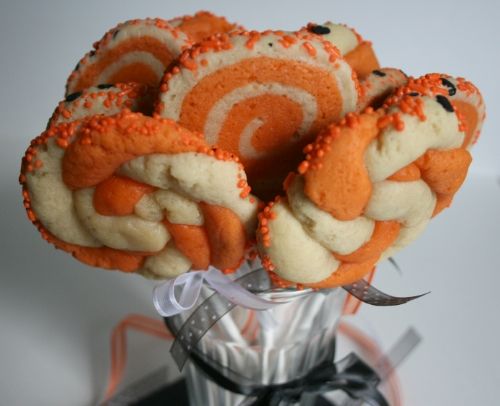
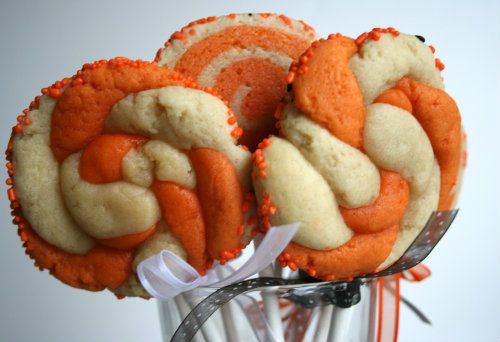
Some of the cookies I placed on a stick to form a cookie type lollipop. Just place the stick under the cookie prior to baking and voila!
As for the other cookies, remember those scraps I talked about? I took the original (white) cookie dough and rolled it out into a small rope like shape. Next, I did the exact same thing with the orange. I stacked one rope on top of the other and began two twist the two colors together (not braid, just twist). Lastly, I began to coil it around using one end as the center wrapping the rest around it. I apologize that I don't have any photos as this was a spur of the moment attempt to not waste dough.

No comments:
Post a Comment