Showing posts with label breads. Show all posts

Wednesday, October 16, 2013

Homemade Hamburger Rolls

 photo 0c7c1e66-9b68-447b-9de5-031a979d1ec2_zps7b1d79d7.jpg

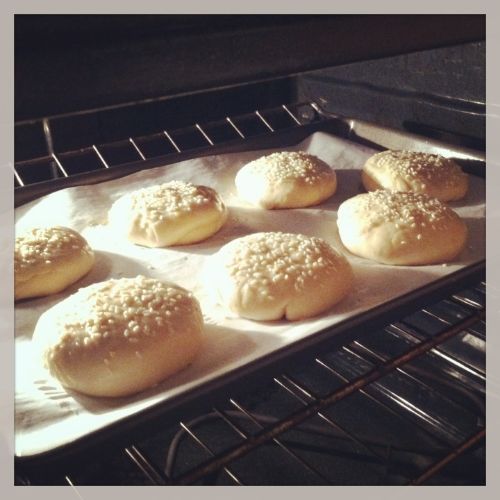
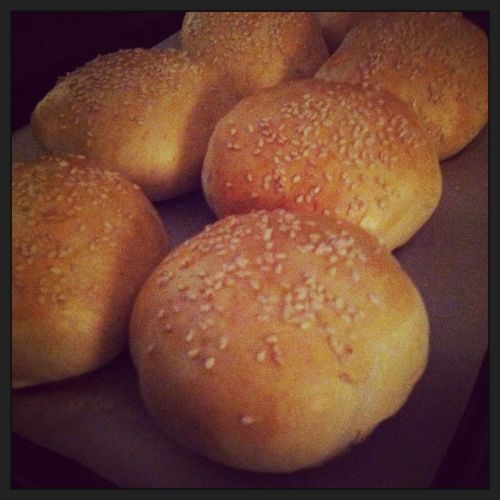
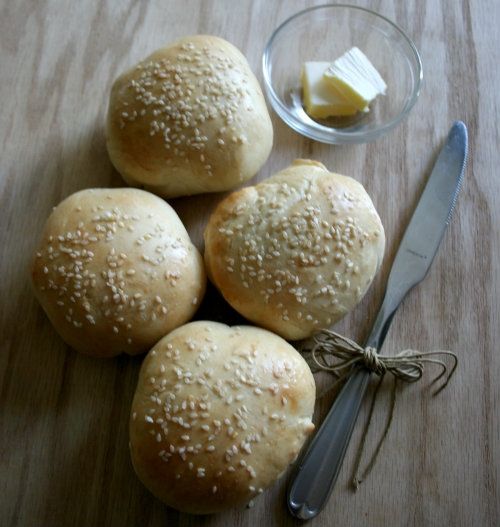
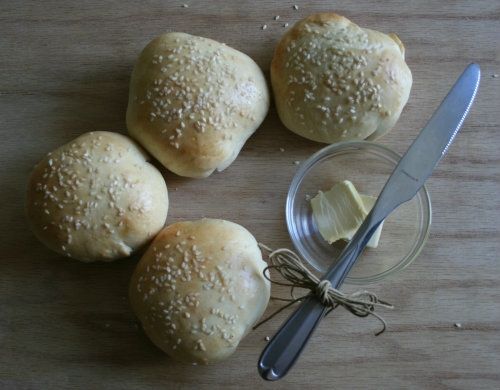
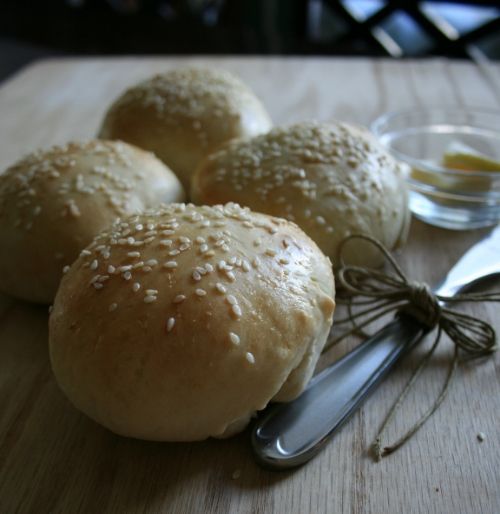
I guess we could call them buns, I mean after all they technically are.  But to me "buns"  (when it comes to food) just sounds.... I dunno.... gross!  Haven't we been over this before where it comes to my weird hang up with food aversions due to the name attached to them?  For example in this post when we discussed my refusal to call them cake "balls' and instead I insisted you call them "bon bons".  Okay, so some things obviously didn't change and won't change no matter how long I'm gone from blogging.  Regardless of what you want to call them, you can call them amazing and I'd be okay with that.  I mean how can you go wrong with homemade rolls? Plain and simple.... ya can't. There's just something about a fresh roll that can't be duplicated in prepackaged ones. We used ours for cheeseburgers and I was just telling Brian how freakin' fantastic they'd be as a deli sandwich as well.  He and Auden even enjoyed them with just a little bit of butter on them!  While cooking them, the house smelled like a bakery and I admit, it made me feel like I was channeling my inner 1950's housewife by making them from scratch.  This was the first time using this recipe or even attempting to make a homemade roll from scratch, so I will confess that I'm no expert when it comes to it.  It's a work in progress and the one recommendation that I will tell you is that the next time I make them, I will be dividing them into smaller portions and making smaller rolls.  The original recipe said to divide the dough into 8 pieces which made rather large rolls which were still delicious but quite substantial in size. Anyway.... enough of this jibber jabber... let me show you my buns! ;)

 photo e48df5ae-1042-4af5-80c0-d73fd3572017_zps0dec932f.jpg

Homemade Hamburger Rolls

Ingredients:

1 Tablespoon of instant yeast (I used Fleischmann's RapidRise Highly Active Yeast.)
1 1/4 teaspoons of salt
1/4 Cup sugar
2 Tablespoons butter
3/4 -1 Cup of lukewarm water - (I started with 3/4 cup and then kept adding as needed using the entire 1 Cup amount.  See King Arthur's website for help in determining how much water to use.)
1 large egg

Topping:

3 Tablespoons of melted butter
or
1 egg plus 1 teaspoon of water
Sesame Seeds (to taste) and optional

Instructions:

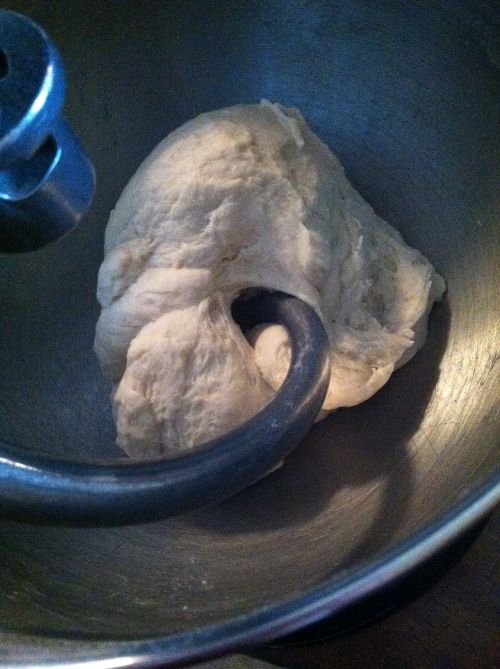
Mix all of the ingredients by hand, bread machine on the dough cycle or in a mixer using the dough hook and kneading for about 5-7 min until dough is soft and smooth.

Cover the dough and allow dough to rise in a place free of drafts for about one and a half hours or until dough has doubled in size.

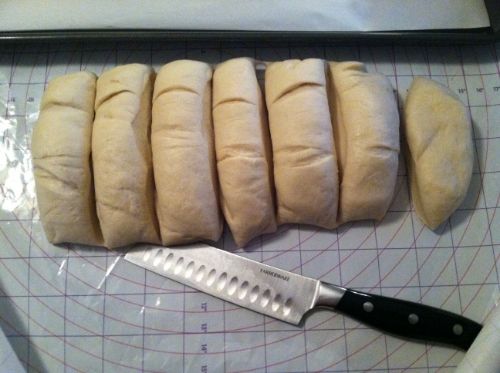
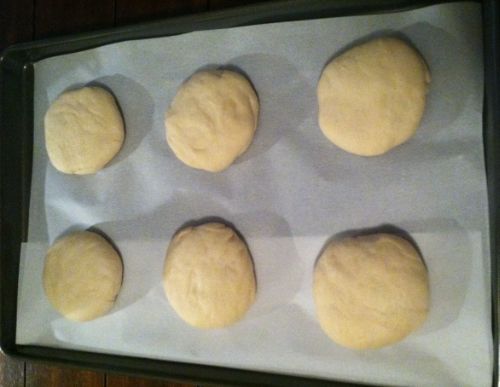
Gently deflate dough and divide it into 8 pieces (I honestly think for better results divide into 10-12 piece, however it will produce slightly smaller rolls).  Shape each piece into a round ball and flatted to about 3 inches across.  Place rolls on a lightly greased or parchment lined baking sheet.  Cover and allow to rise again for 45 min to an hour and until rolls are noticeably puffy.

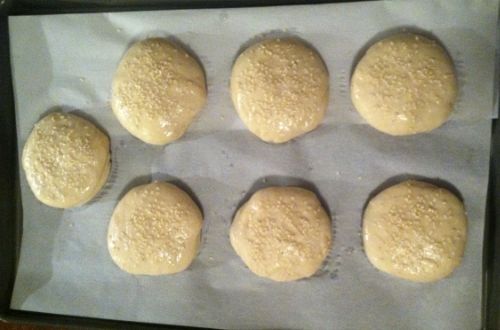
Brush the top of rolls with 1.5 Tablespoons of melted butter or I used an egg wash that consisted of 1 egg white and 1 teaspoon of water. Garnish with sesame seeds (optional).

Bake the buns in a preheated 375 degree oven for 15-18 min or until golden brown.  Remove from the oven and brush with the remaining butter.  This will give the rolls a satiny, buttery crust.

Cool the rolls on a rack for 20 min prior to serving.
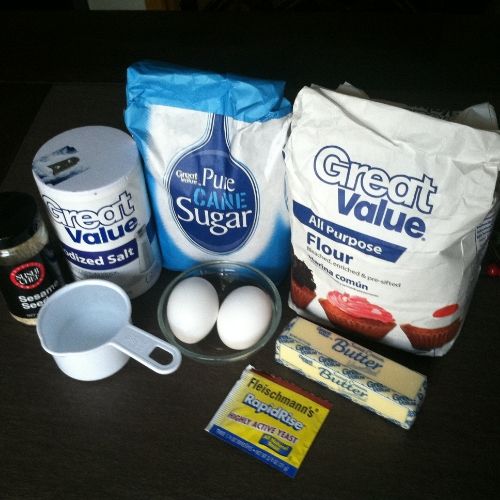
 photo 82d4ed0f-b843-4cb6-947c-0c1fe77b58f3_zps8408654e.jpg

 photo 6c09e5d8-f845-4e01-ae55-4be75f9c5ef0_zps9cfb6215.jpg

 photo d4756e4f-93b4-48b5-a9e2-6a3cc8c06be5_zps24a1e027.jpg

 photo f0ad0a04-4a03-42c9-8208-edb579c4d204_zps88f5693f.jpg

 photo c602b753-fa65-4a88-9db0-82d598a531b8_zps67ae6547.jpg

 photo ce61661d-16e1-469f-9fd0-457b05dccbf1_zps134788ab.jpg

 photo 3e73dcf0-2475-44bc-9a57-4c968f3e8443_zpsb756dbc6.jpg

 photo 1806f2c9-8c3e-4f48-b36d-a7e396e57432_zpsb53be262.jpg


Sunday, October 13, 2013

Bruschetta with Tomato and Basil

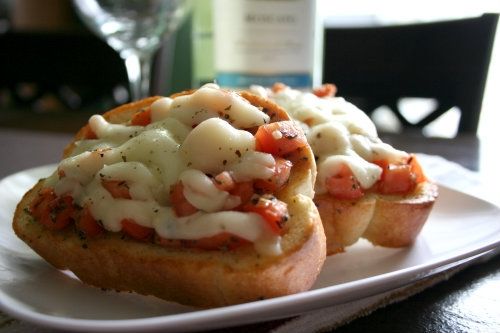
 photo be7f25e3-a6bd-4cbc-95b2-78a6cd576409_zpsaa2e38d8.jpg

I want to rename this recipe "You betcha I love Bruschetta" (actually pronounced "brusketta" in Italian)! The reason for the desire to rename it you might ask?  It was Brian's first time ever having it and I'm pretty sure his taste buds fell in love! In fact, his original request to "only have a bite" ended up in him being pretty happy that I made the rest of our leftover garlic bread! I have ALWAYS been a huge fan of this recipe and I am SO happy that I have converted him over into my little world!

This was somewhat of an impromptu recipe.  You see I am somewhat of a veggie abuser.  I tend to go grocery shopping for 2 weeks (or more) at a time and it NEVER fails that I buy too many veggies to use in recipes.  They end up looking all ugly, sad, shriveled or wilted before I ever have a chance to show them some proper love!  I have made an effort to NOT allow that to continue to happen so when I saw 5 little Roma or plum tomatoes sitting in my fridge looking at me in despair, I knew exactly what I needed to do!

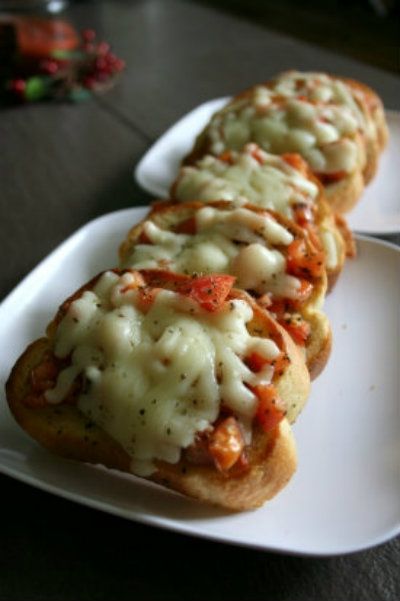
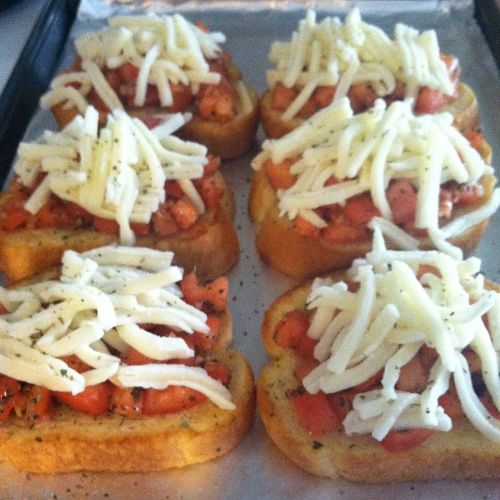
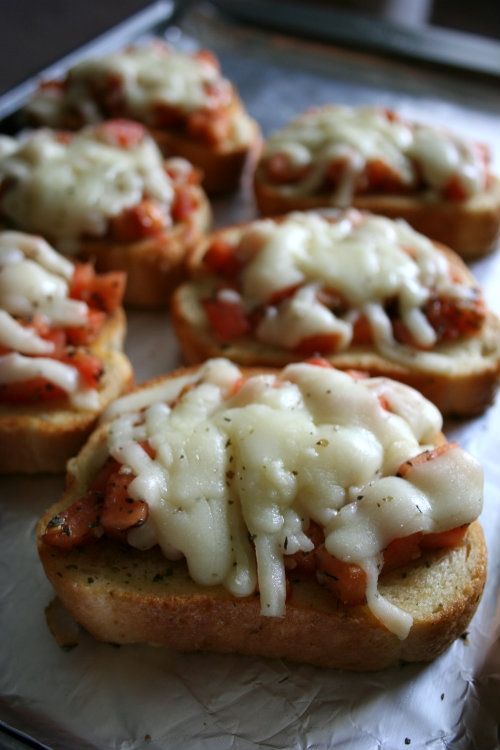
This can and probably would be considered an appetizer.  I think it is quite common to be served cold on toasted bread,  but since I hadn't eaten lunch, I turned mine into a warmed version with Mozzarella cheese and make a little makeshift Bruschetta pizza.  The results?  DELIZIOSO!

 photo c985871d-c879-4545-83f1-b3edf2ae2a52_zpsa98bb3a2.jpg

Bruschetta with Tomato and Basil
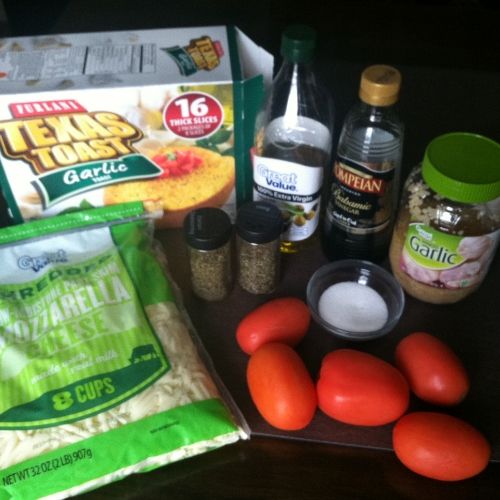
Ingredients:

6 Roma or Plum Tomatoes
2 Tablespoons of Minced Garlic
1 1/2 Tablespoons of Balsamic Vinegar
3 Tablespoons of Extra Virgin Olive Oil
5 teaspoons of sugar
1/2 teaspoon of dried basil (although I would have used and preferred fresh if we had it)
1/2 teaspoon of dried Italian Seasoning 
Bread of your choice baguette French bread, Italian bread or frozen garlic bread.
Mozzarella Cheese - optional and to your liking

Preparation Instructions:

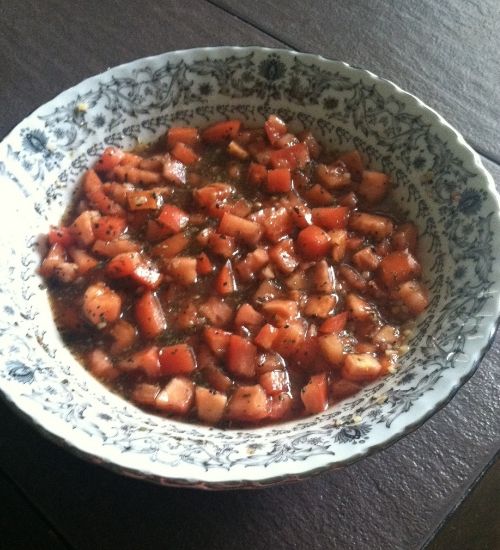
Wash and chop into small cubes all 6 of the tomatoes
Add Garlic, Balsamic Vinegar, Olive Oil, Sugar, Basil and Italian Seasoning to the chopped tomatoes.
Mix thoroughly.

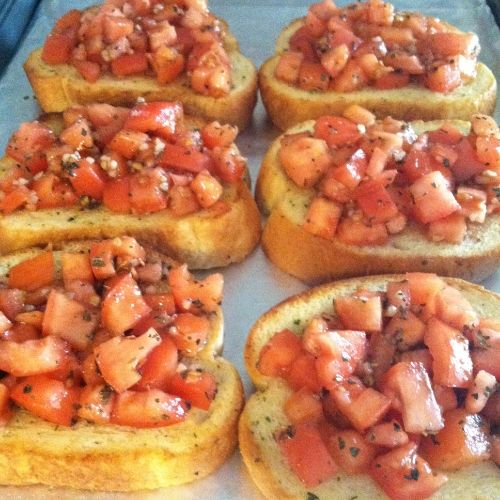
Prepare bread by baking in a preheated 400 degree oven. (if using French or Italian Bread, slice 1/2 inch thick slices on a diagonal, brush with olive oil and place on a cookie sheet, oil side down.)  Toast for 5-7 min or until bread begins to turn golden brown.  Once bread has been toasted, place bread olive oil side up (either side for frozen garlic bread) and add a generous amount of the bruschetta mixture, top with mozzarella cheese and garnish with Italian Seasoning. Place back in the oven and continue baking until the cheese has slightly melted.  If you are serving this cold as a side dish or hor dourve at a party, place in a bowl and allow guests to serve themselves so that the bread doesn't becoming too saturated or soggy prior to serving.
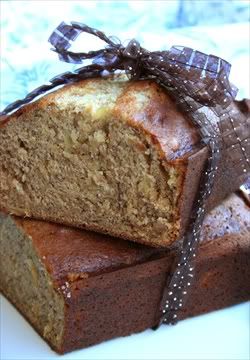
 photo 3d6975ac-cf72-4072-8a97-1d5a4e5cd7bd_zps8805ac04.jpg

 photo 58225921-8785-42b6-8226-f22b4f9e3ba1_zps2843d3dd.jpg

 photo 196936b3-0f9e-4618-8eee-638cffc39c13_zps3c72b2c2.jpg

 photo b9f81e4a-77f6-456c-84d6-41fcffb164f7_zpsfaa35098.jpg

 photo 8c01aa03-75bd-4631-a8e3-c94eb88bf323_zpsf3ad32b7.jpg


Monday, July 6, 2009

Extreme "bakeover" -Pineapple Banana Bread .

Photobucket

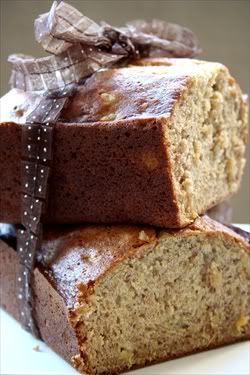
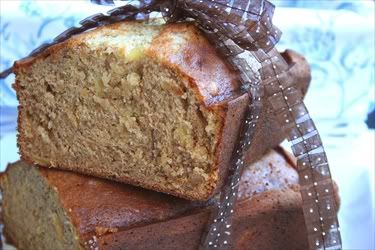
Bear with me for a moment. I feel the need to apologize to my bananas. I really had intentions of eating you right away when I first laid eyes on you at the grocery store. I thought for sure someone in my family would gobble you up right away, but when it didn't happen I saw how your ego (and peel) became bruised sitting over there on the counter all by yourself. Today I just couldn't take it anymore. I knew I had to save you from yourself (and my unappreciative family). So I did the only thing that I could think of, I grabbed your friend canned pineapple, my recipe and the rest as they say is history. You have become banana pineapple bread and much like a high school ex boyfriend (or girlfriend for my male readers), I didn't realize how much I liked you until you transformed into something much more beautiful and desirable then you once were. My family is TOTALLY appreciating you and enjoying you now!

Okay now where were we? Oh I was going to give you all the recipe for this wonderful, out of this world, delicious, moistest bread like EVER! I used to buy bread like this at a specialty store, but for $8.00 a loaf? Are you kidding me? Some might say I'm cheap, others may call it frugal but whatever the case may be, I knew I had try to bake something similar myself. It wasn't just similar - it tasted like the same exact thing! I have been making this for a while and it remains one of my families all time favorites.

Photobucket

Pineapple Banana Bread

Ingredients:
3 Cups all-purpose flour
2 Cups sugar
1 tsp salt
1 tsp baking soda
1 tsp ground cinnamon
3 eggs
1-1/4 Cups vegetable oil
2 tsp vanilla extract
1 can (8oz) crushed pineapple, drained
2 Cups (4 to 5 medium) mashed ripe bananas

Directions:
In a large bowl, combine the flour, sugar, salt, baking soda, and cinnamon. In another bowl, beat the eggs, oil and vanilla; add pineapple and bananas. Stir into the dry ingredients just until moistened. Pour into two greased 8-in. x 4-in. loaf pans.

Bake at 350 for 60-65 minutes or until golden brown and a toothpick remains clean when inserted into the center. If you notice that the tops are starting to get browned, yet the tooth pick does not come clean, cover with a piece of foil and continue baking to prevent top and the sides from getting too dark. Cool for 10 minutes before removing from pans to wire racks.

Yield: 2 loaves.

ENJOY!

Photobucket

Monday, June 15, 2009

And the winner is Cinnamon Buns!


I guess it's true what they say, Men are from Mars, Women are from Venus - he wants chocolate chip cookies, she wants cinnamon buns and since "she" is the baker cinnamon buns, win by a landslide!

This all started a year or so ago when Will was talking about the Cinnabon company and how good their cinnamon buns are. Since I apparently live under a rock, I have to confess I have never in my 35 years of living had a actual "Cinnabon". But the whole concept of a cinnamon bun being so delicious that one has to rave over it got me curious. At that time we were living in PA and the closest "Cinnabon" was over an hour a way, not really a practical drive to make just for me to sample this urban legend of yumminess, so I did the next best thing, I baked my own!!!

It took me a while to perfect them from unrolling, but I think over time I have found that the tighter you roll them and the closer you put them in the pan the less likely they are to unroll. One other tip that I will give you is to pinch the ends of the dough together after you are done rolling, but prior to slicing.

To my East Coast peeps (also known as friends, family and co-workers) since I left you high and dry where sweets are concerned I know these were one of your favorites! I hope that in my absence the recipe will some how make up for my abandonment of all of your sweet tooth's.
Here is the recipe and I hope that you enjoy them as much as I do!!!
ROLLS:
2 1/4 tsp active dry yeast (I used rapid rise)
1 cup warm milk
1/2 cup sugar
1/4 cup butter
2 eggs
1 tsp salt
4 cups flour
Combine all of the dry ingredients. Warm the milk in the microwave (I warmed mine for 1 min on regular power) to the warm milk add the yeast and the sugar - stir. Allow to sit for a few minutes until the yeast begins to dissolve and foam at the top of the mixture. Add eggs, butter and milk, yeast, sugar mixture to the dry ingredients. Mix until a smooth ball forms (use extra flour as needed). Place in a bowl, cover with a warm, wet towel and away from drafts. Allow to rise for 1 hour.
FILLING:
1 cup packed brown sugar
2 1/2 TBSP Cinnamon
1/3 cup of butter - I used no salt butter
Combine filling and begin rolling out dough. You will want to roll the dough on a lightly floured surface until it's approx. 20-24 inches long and 16 inches wide. It should be approx. 1/4 inch in thickness.
Spread the butter completely over the dough surface. Top with the brown sugar/cinnamon mixture. Working from the long side roll the dough (remember to try to keep the roll as tight as possible. Once completely rolled, pinch the seam to the roll to form a seal. Cut the roll approx every one inch. Place into a greased pan - I used to use a 13 X 9 inch pan and you certainly can do it, but I found that I have better luck with using round cake pans and placing 6 in each pan (including the center position). This recipes should yield approx 16-18 rolls assuming you cut them every one inch.
Preheat the oven to 400 degrees F, bake rolls for 15-20 min until they are lightly golden brown, but not doughy. Do not over bake.
While the rolls are baking, I prepare the cream cheese icing.
CREAM CHEESE ICING:
7 TBSP of butter - you should use actual butter - again I used non-salt
1 1/2 cups of powdered sugar
2 oz or 1/4 cup of cream cheese
1/2 tsp vanilla
Mix until creamy and smooth. When the rolls are done, remove from the oven and cool for 5 minutes. Spread icing on tops of rolls (Will and I keep the icing separate and spread icing on each one individually as we eat them. We also just reheat the left overs and spread the icing on after they have been reheated.
ENJOY!!!